6 Tips for Basic Milky Way Photography
Night and astral photography is an art that many spend their lives learning and fine-tuning. But that doesn’t mean you can’t quickly learn to take a photo that will still grab people’s attention. Snapping share-worthy night photos of the Milky Way and our galaxy’s stars does however mean you’ll need to move beyond just pointing your smartphone toward the skies and clicking on auto mode.
To help you on your way, here are six tips for beginners to get you started photographing the night skies. But be warned; when you’re out enjoying the quiet of the night and the beauty of the galaxy, it’s easy to get bitten by the night skies and photography bug.
Getting Set Up
When it comes to snagging impressive night and astral photos, it’s essential to have a camera that allows you to adjust your setting precisely, including aperture (how wide open the lens is), shutter speed (how fast it takes a photo), and ISO (how sensitive the camera will be to available light). Of course, most dedicated night photographers will have a DSLR to get exacting adjustments, but a camera app for your smartphone that allows adjustments can get you started.
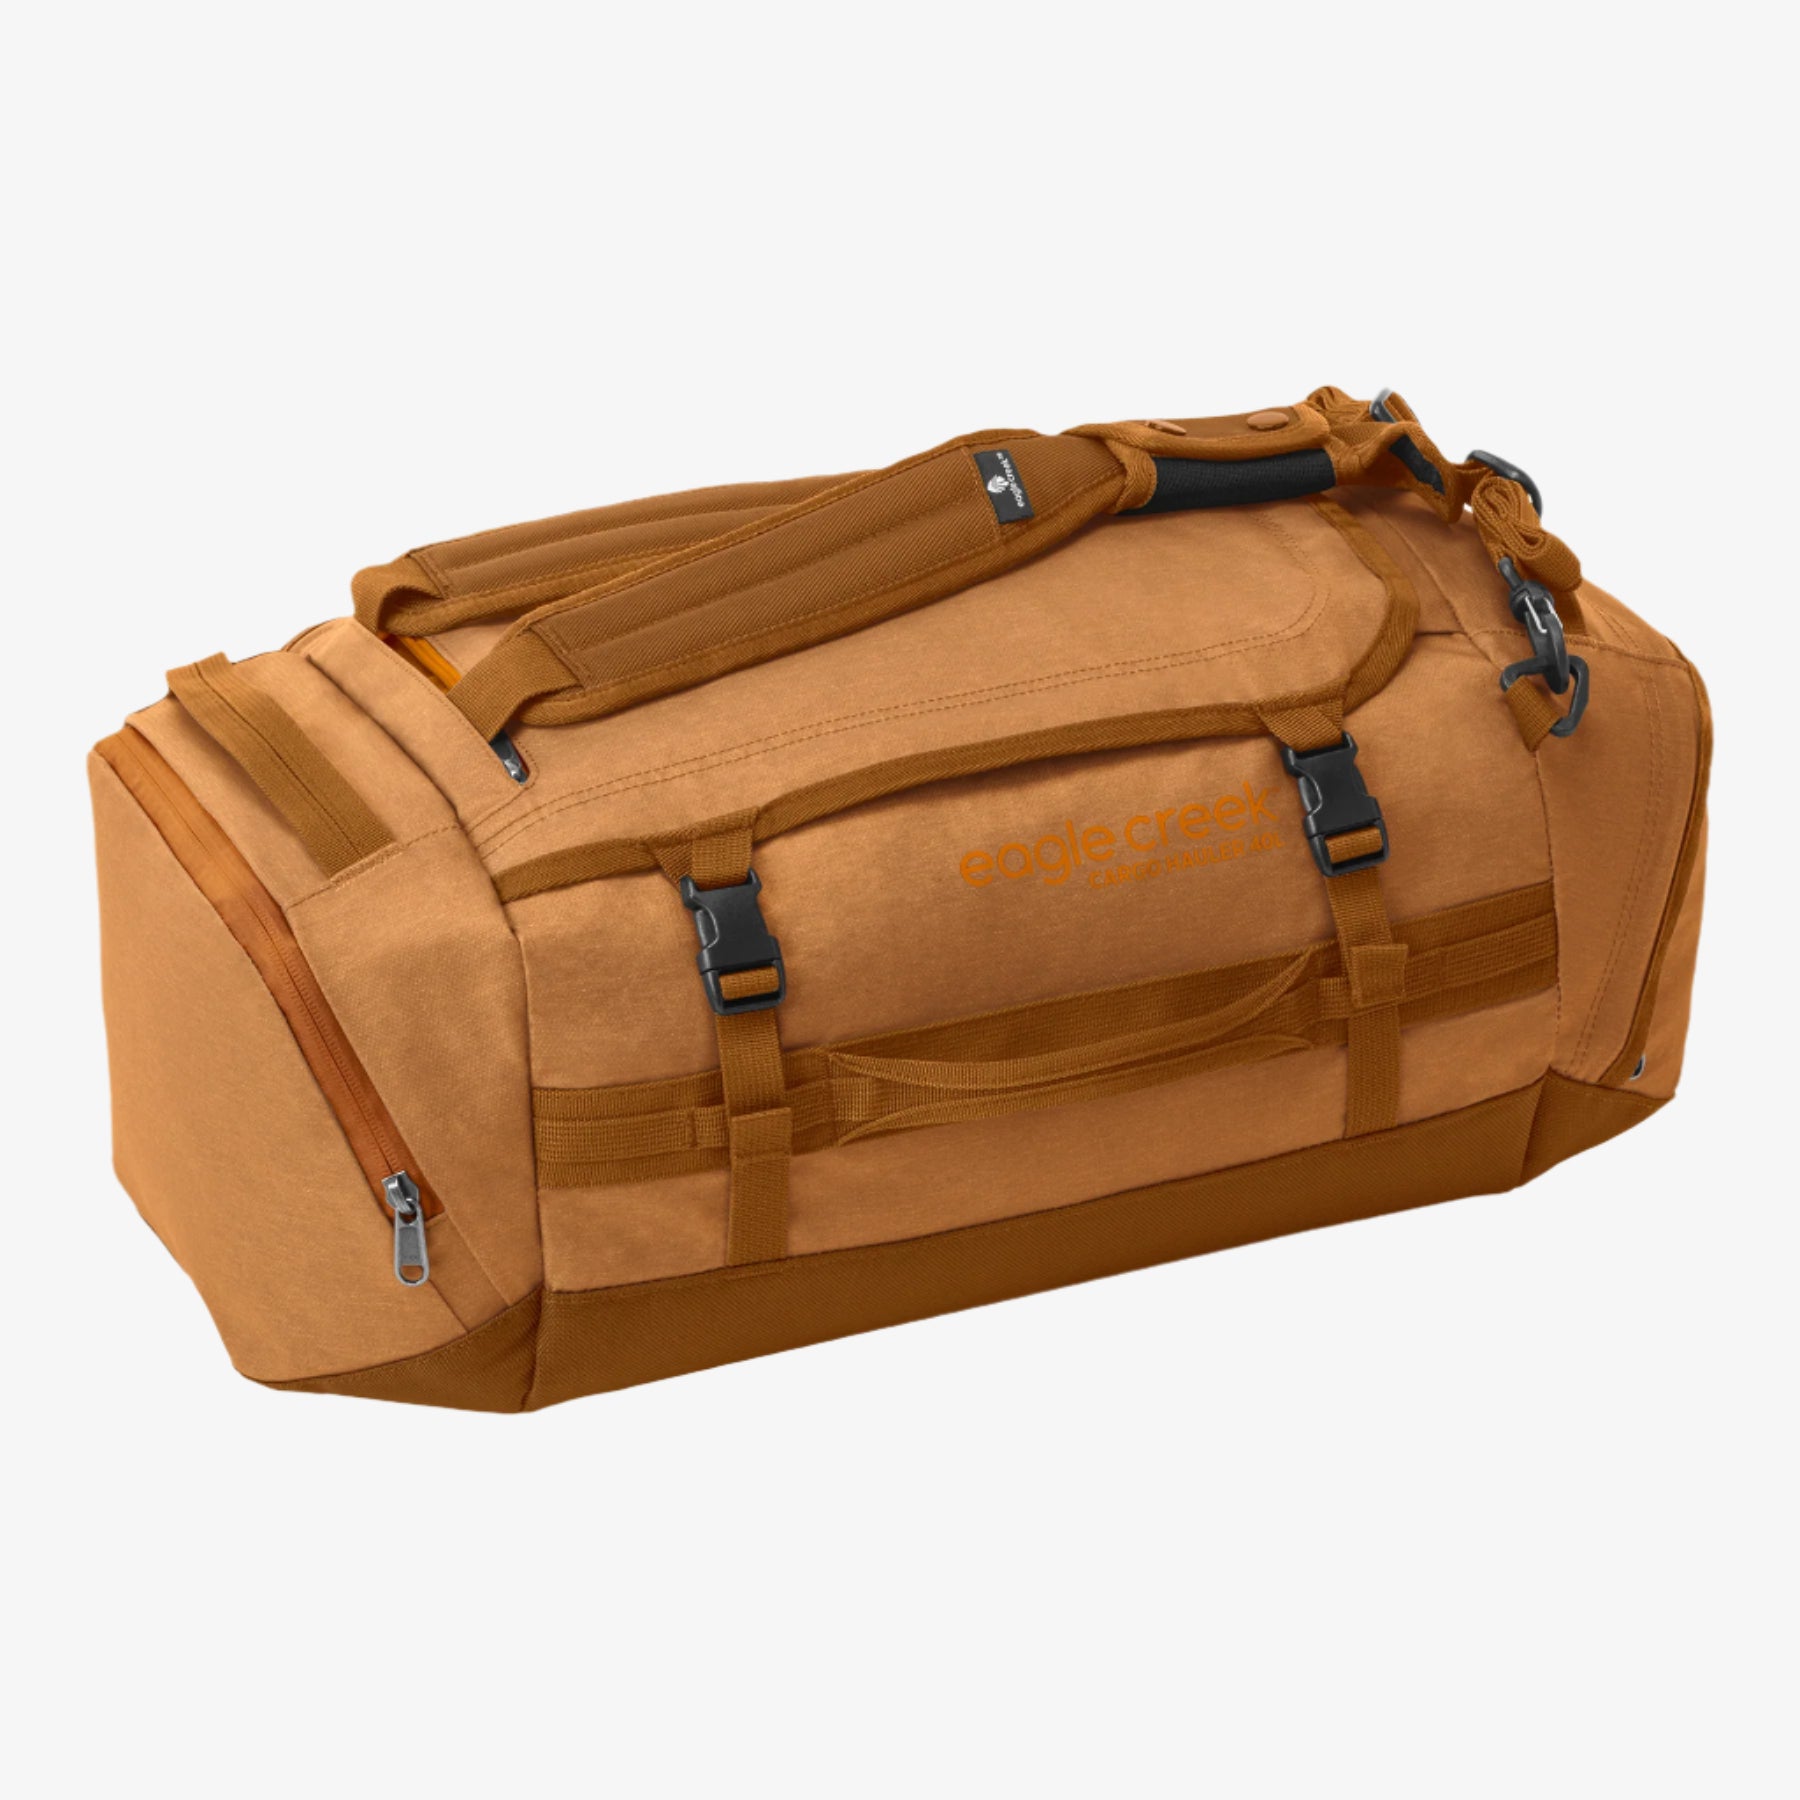
You’ll also need a tripod since the length of the exposure will be a few seconds or more. Holding your camera in your hands will mean you’ll get blurry everything. To trigger a shutter for a longer exposure, you’ll also want to have a remote shutter release, which attaches to the camera by a cable or Bluetooth. All this gear needs protection so carry it in a durable bag, backpack.
Location, Location
If the Milky Way is your goal, you need to determine when it is visible where you are. Generally speaking, that will be from about spring to October, although it can be earlier or later. You also won’t see the Milky Way as clearly when the moon is full or there is too much light pollution.
Get Shooting
Once you have the right gear, apps, accessories, and timing, it’s time to start shooting:
· Change the camera to manual mode so you can adjust everything. If you’re trying to do this with a smartphone as a start, you’ll need a higher-level app of some sort and a tripod made for mobile phones.
· Put the camera’s shutter speed on “BULB” so you can use a remote for taking a longer exposure with a length determined by you.
· Set the ISO for 6400—you may later try moving that down to even 3,200. Bigger numbers mean more light sensitivity.
· Set the aperture to F/2.8. Smaller numbers mean wider and therefore more light.
· Shutter speed is picker. Milky Way photographs are not super long exposures since the stars are moving and you don’t want streaks. How fast you set the speed will depend on your lens and other factors. It may be a few seconds or even up to about 30 seconds. Unless you have an app that helps you determine that length, just start experimenting. Start with 15 or 20 seconds, then take a look. Are the stars smears? Go down. Is there not enough light? Go up.
· Processing software is a must. After taking a photo, you will need to adjust the tones and so-called “white balance” and bring out a few colors in the Milky Way, too. There are free programs to get you started.
These tips will help you get a feel for shooting Milky Way and star photographs. Remember, the complexity of what, when, and how to shoot goes much deeper. Start dabbling and see how excited you get when you see the potential. You may want to start packing blankets, chairs, beverages, and friends for a true adventure. Frankly, just being out in the dark and silence of the night remains a real attraction to taking Milky Way photographs. And, before you know it, you’ll be researching dark skies festivals around the world to plan your next travel escape.

