The Easy Way to Apply For TSA Pre-check
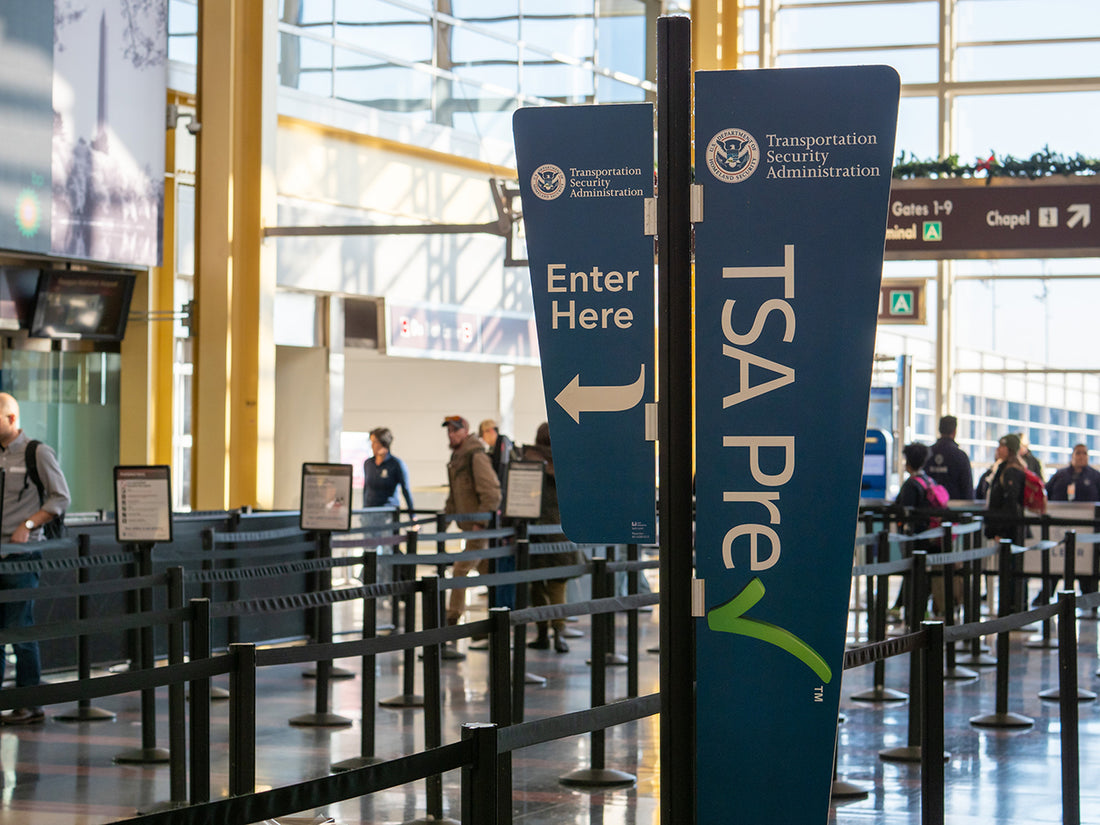
With hours-long security lines now rampant at airports around the country, who wouldn’t love the chance to skip the queue and avoid the annoyances? TSA Precheck gives you just that opportunity.
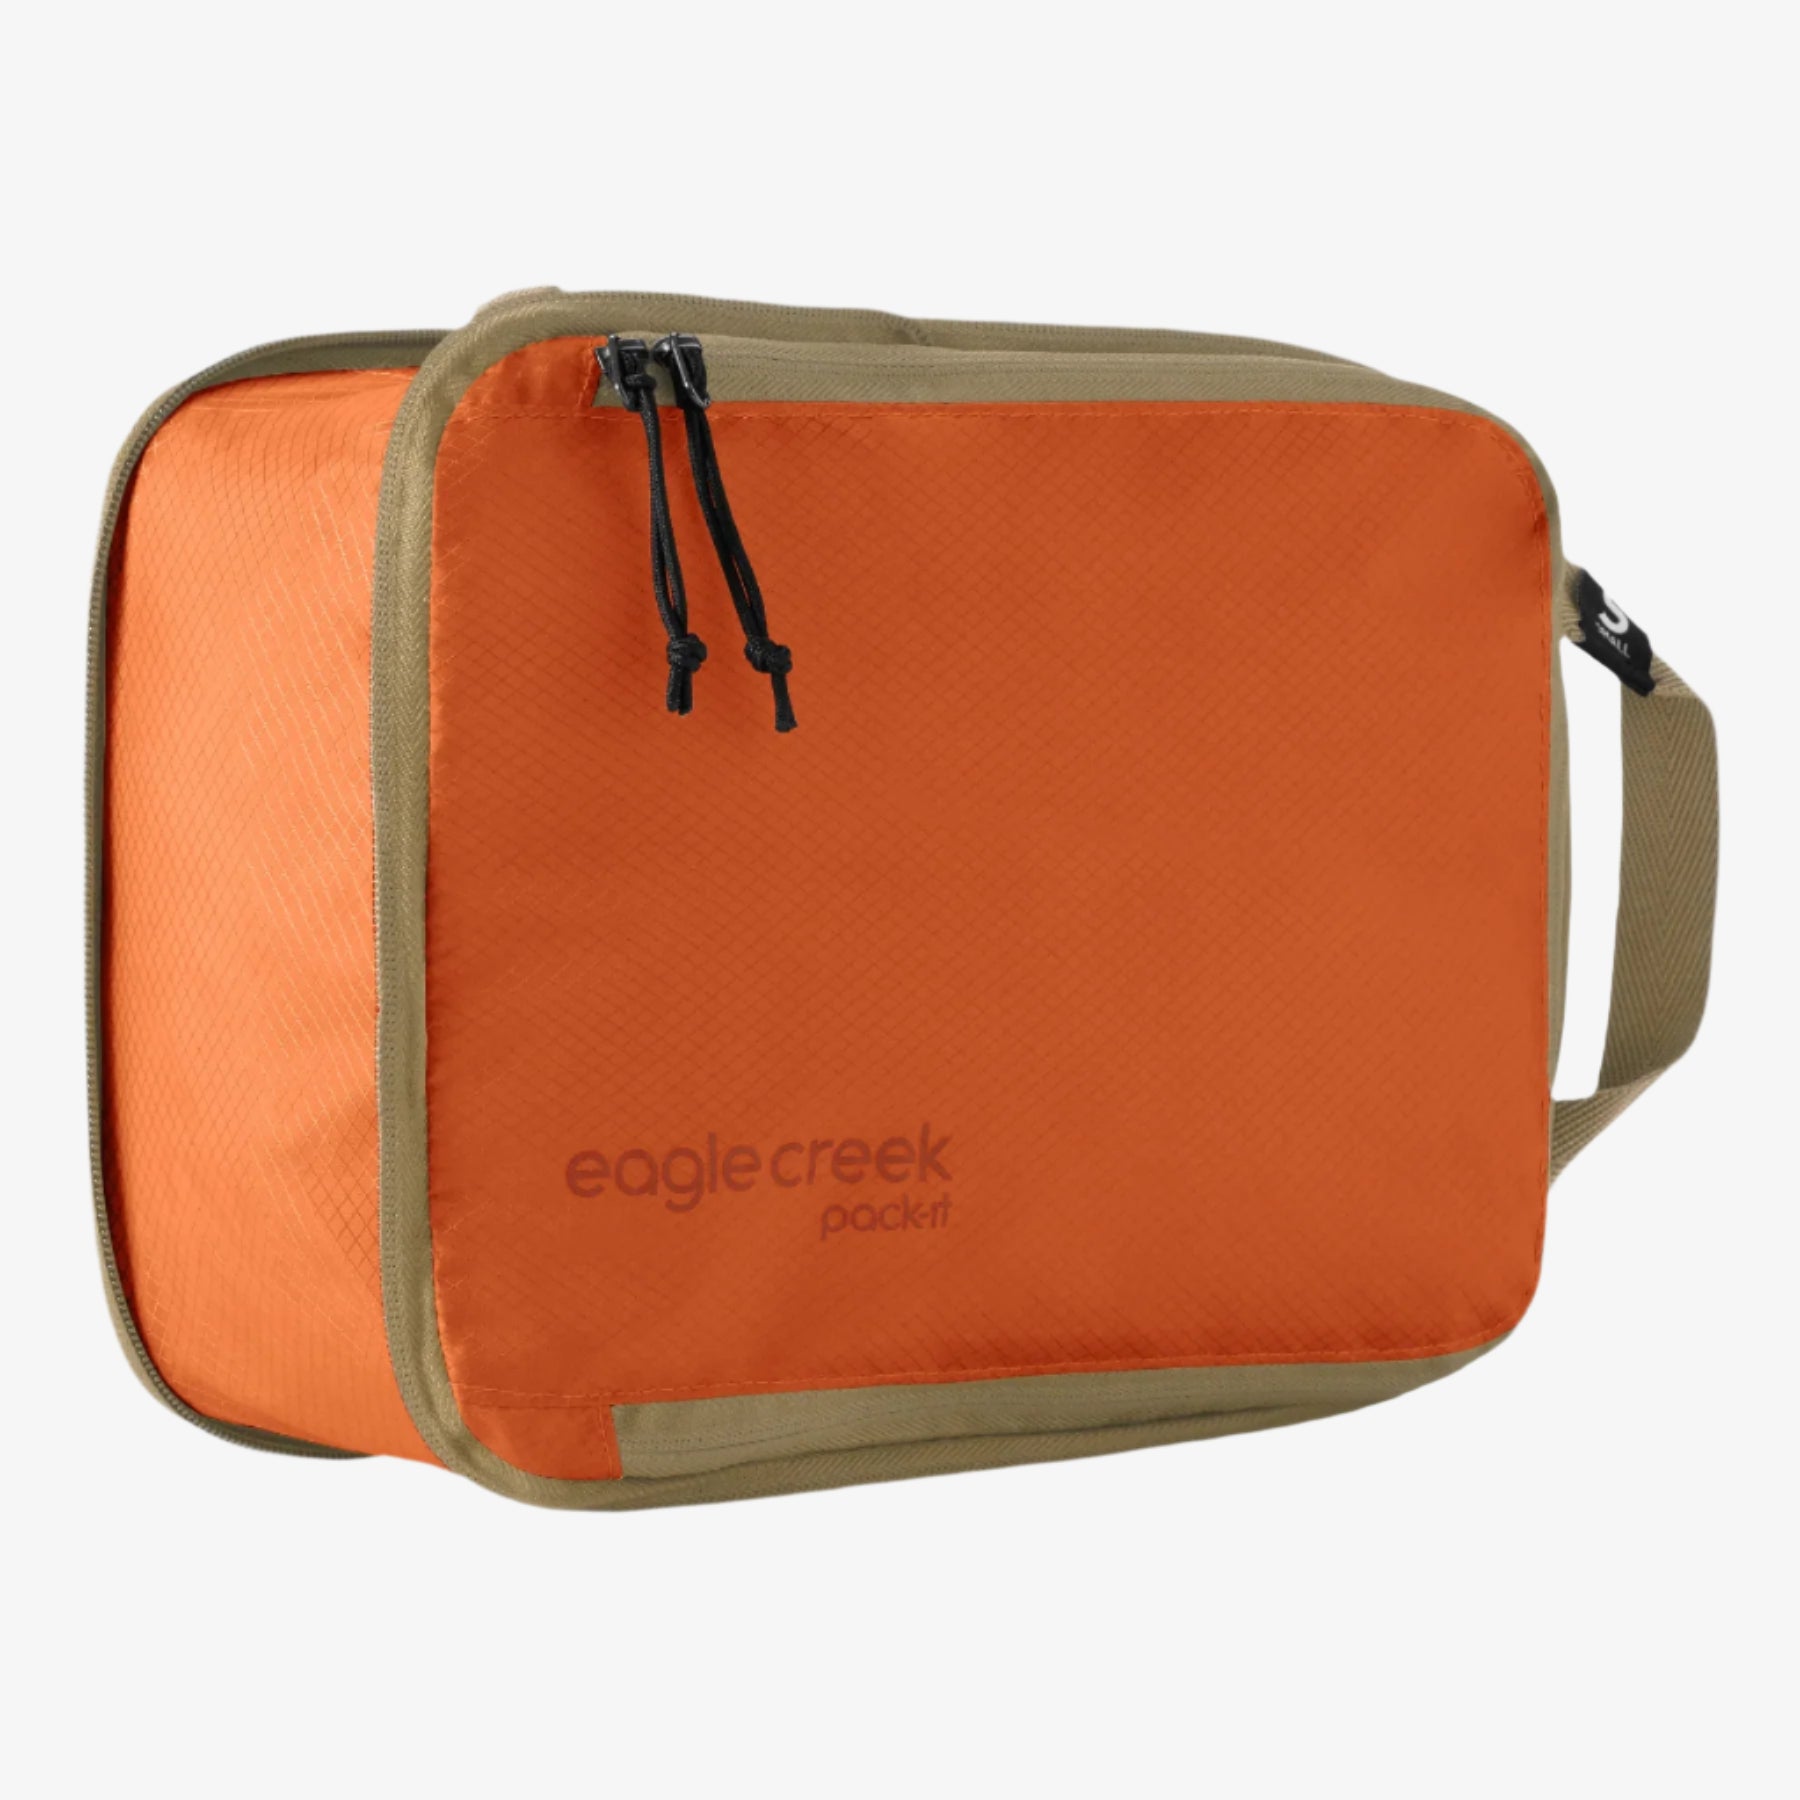
Anyone who travels knows that there are many downsides to flying, like a lack of legroom, crying babies, and terrible food. But perhaps the biggest one is getting through the incredibly long lines at Transportation Security Administration (TSA) checkpoints. And once you get to the front of those lines, you’re faced with a huge hassle: You have to remove your jacket, shoes, watch, and belt, and then unlock your bag and take your bottles of liquids out of your toiletry bag in your Pack-It Cube and your laptop out of its sleeve. Who wants to deal with all of that every single time you go to the airport?
Luckily, there is a solution: TSA Precheck, which is designed to save you time and stress at the airport, costs $85, and is good for five years. U.S. residents, nationals, and lawful permanent residents (LPRs) are eligible for Precheck, and international citizens who participate in Global Entry can also use it. The benefit is tremendous: According to the TSA Precheck website, in July 2016, 97 percent of Precheck members waited five or fewer minutes in security lines.
So how do you apply? The process is actually pretty simple.
1.Go to the Web. First, apply for Precheck online. Be sure that the name you use when you apply matches the one on your identification documents exactly.
2.Schedule an appointment. You’ll receive approval via email, after which you can schedule a 10-minute, in-person screening appointment. During this appointment, you’ll be fingerprinted. (You’ll get to choose the location from provided options.) You can also opt to "walk in" to a screening location instead of making an appointment, but it's not recommended, as you may have to wait longer. Depending on where you live, the first available slot for an appointment may be several weeks away.
3.Wait for your number. Once you receive your approval (usually within five days of your appointment), you will receive your "known traveler number" (KTN) via mail and email. You can add this KTN to your airline reservations and enjoy the speedy benefits.
Once you have Precheck, there are a few more steps to take. Update your frequent flier account and all airline tickets with your KTN—you can save it in any airline accounts that you have, or provide it when you book individual airline tickets. Once you do, your Precheck status will be indicated on your boarding pass and you’ll be able to use the special TSA Precheck line at the airport. That way, you can avoid taking off your jacket, belt, and shoes, and taking out your laptop or liquids.
There are still some caveats, though. You’ll still have to pass through a metal detector. Not every airport and airline participates in TSA Precheck—so be sure to double check that it will be an option for your specific trip ahead of time. And keep in mind that, though there is no age requirement to participate in Precheck, children under 12 can go through the Precheck lane only with a parent, guardian, or other accompanying adult.
Getting excited? If you want to use Precheck when you travel, apply sooner rather than later. Though the process can sometimes move fairly quickly, it’s important to build in buffer time in case of any sort of delays.
Related Links (from Eagle Creek blog):
13 Unmistakable Signs You're an Expert Traveler

